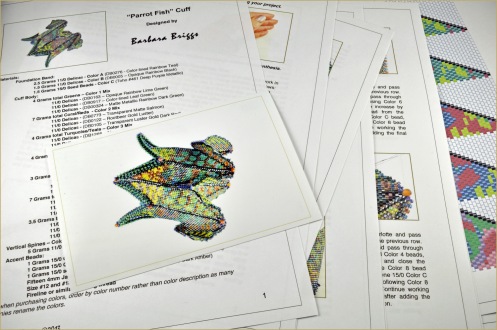
I’ve been asked that question by other beading enthusiasts who aspire to design beading patterns. There are several ways one can go about it. After the initial conceptualization the process is truly step by step because I create the pattern as I design the piece…I bead and write the instructions for the step I’ve just finished, take a photo, load it onto my computer, edit and if I’m not pleased with the photo, I reshoot that step. It is imperative that the photos be taken with good lighting, are clearly in focus, and closeup to show exactly what is happening in a particular step of the design. When I’m satisfied with the photo, I catalog the photo and type directions for the step. I repeat this sequence for every step of the pattern. Many of my designs contain forty or more steps and as many or more photos. In addition, several of my designs (Mermaid, Parrot Fish, Loch Ness, Sea Dragon, Safari, and Empress Ming cuffs – all inspired by CGB) require graphs, which must be followed row by row. I create those colored graphs with the aid of a software program, laying out the shape of the design and filling the spaces with color. Depending on the complexity of the design, creating a pattern usually requires several weeks or more of my time. Obviously, designing and writing beading patterns is a lot of work, but I love the challenge and will probably keep designing beading patterns for as long as my vision lasts!
Jen VanBenschoten, the editor of Beading Daily, gives advice on writing beading patterns in an article that was published on March 14, 2014. Here’s a link to Jen’s article.