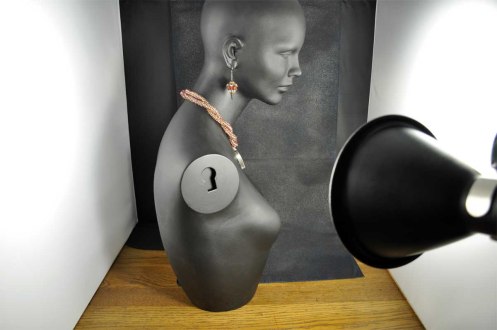
I am by no means a professional photographer, but I’ve learned a lot since I started photographing my work. I’ll admit I know next to nothing about the workings of a camera, f-stops, or exposure, but through trial and error and taking multiple shots of the same subject, I produce photos that I’m quite pleased with! Unlike Kate McKinnon and others who live where sun shine can provide bright light for taking indoor photos, those of us who live in the Midwest, Pacific Northwest, and other climates where dreary days outnumber sunny days, must use equipment and lighting designed specifically for photography if we want quality results.
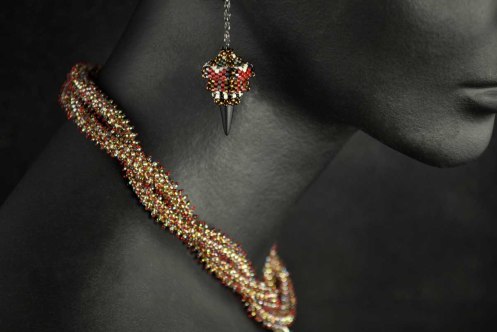
My photography area is set up in a dark corner of my studio. I use a light tent that is 20” in width and 24” in height for items requiring more room and a smaller tent for photographing smaller pieces. The tent diffuses light-giving softer and more desirable results. I have three portable lights all fitted with Daylight bulbs and I sometimes use a reflector that bounces the light exactly where I want, eliminating shadows that can ruin a photograph. I rely on “Amanda Mannequin” (a discard from a department store that I found at a flea market and painted black) when I want to show a piece of jewelry being modeled. But most often, I take photos of my jewelry lying flat on a backlit light box that I purchased at a craft store. It is particularly handy when I shoot the step-by-step process photos that accompany my jewelry and beading tutorials. There are those who achieve excellent results using iPhones for photography, but I am more comfortable using a digital SLR camera with macro lens for close-ups of my jewelry and works in progress. I still have so much to learn, but in general, I’m pretty pleased with the photos I take!


Is that necklace shown from the front somewhere? It looks gorgeous! So appreciate the photography tips, thank you!
Thanks, Marilyn! The necklace is my ‘Beaded Lariat Rope”, which I’ve doubled and twisted around the mannequin neck. Both kit and tutorial for this design are available in my Etsy shop. Here is a link to the tutorial: https://www.etsy.com/listing/73738056/digital-pattern-for-the-beaded-lariat?ref=listing-3